
A blow-dry is all about drying hair with (very) hot air; the heat smooths the hair cuticles to leave it sleek and especially shiny. But when you're not a hairdresser, a blow-dry can quickly turn into a meltdown: twenty minutes later, your neck is hot, the brush is tangled and the result is disappointing. Don't worry: an at-home blow-dry is less about talent than about the order of the steps. So let's start from the beginning, step by step.

The answer? Follow the guide.
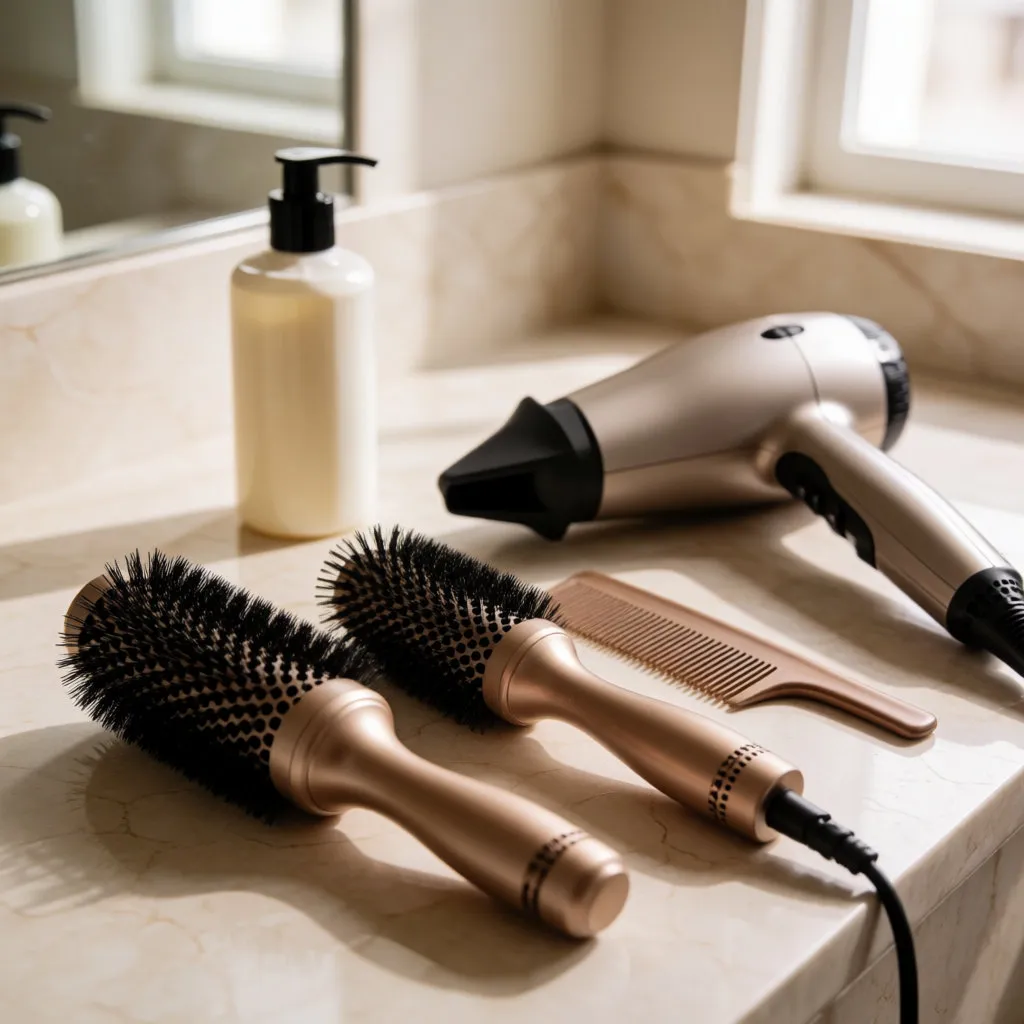
To start, gather your kit.
Choose a good-quality hairdryer with several heat settings, so you can adjust the temperature at each stage of the blow-dry.
Also choose a round brush; its size should depend on your hair length: a large barrel for long hair, medium for mid-length hair. And for fringes, a small diameter is very handy.
Finally, have a serum, cream or similar product ready to prepare hair for blow-drying and, in turn, protect it.
Now, on to the action.
First, a piece of advice: if you use your hairdryer regularly, look after your hair every day. Use a protective cream, a UV-protection hair oil in summer, post-shampoo hair masks or, if you can, a nourishing treatment with plant oil once a week before washing your hair. Protecting hair preventively and regularly is what helps it withstand heat without breaking.
That's the warning over, so let's get to the blow-dry.
Start by pre-drying your hair with the hairdryer on a medium heat setting, after detangling it, of course. Once your fingers no longer feel damp when you touch your hair, apply your protective serum, which will also make smoothing easier.
Then, starting at the nape, section the hair, leaving free the strands you're about to blow-dry and clipping the rest out of the way. Work section by section so you don't get overwhelmed by events.
With one hand, glide the brush along the section while following the movement with the hairdryer in the other (set to its hottest temperature). The hairdryer should be neither too far nor too close to the hair: around 10 to 12 centimetres away. Any closer and the heat could damage it.
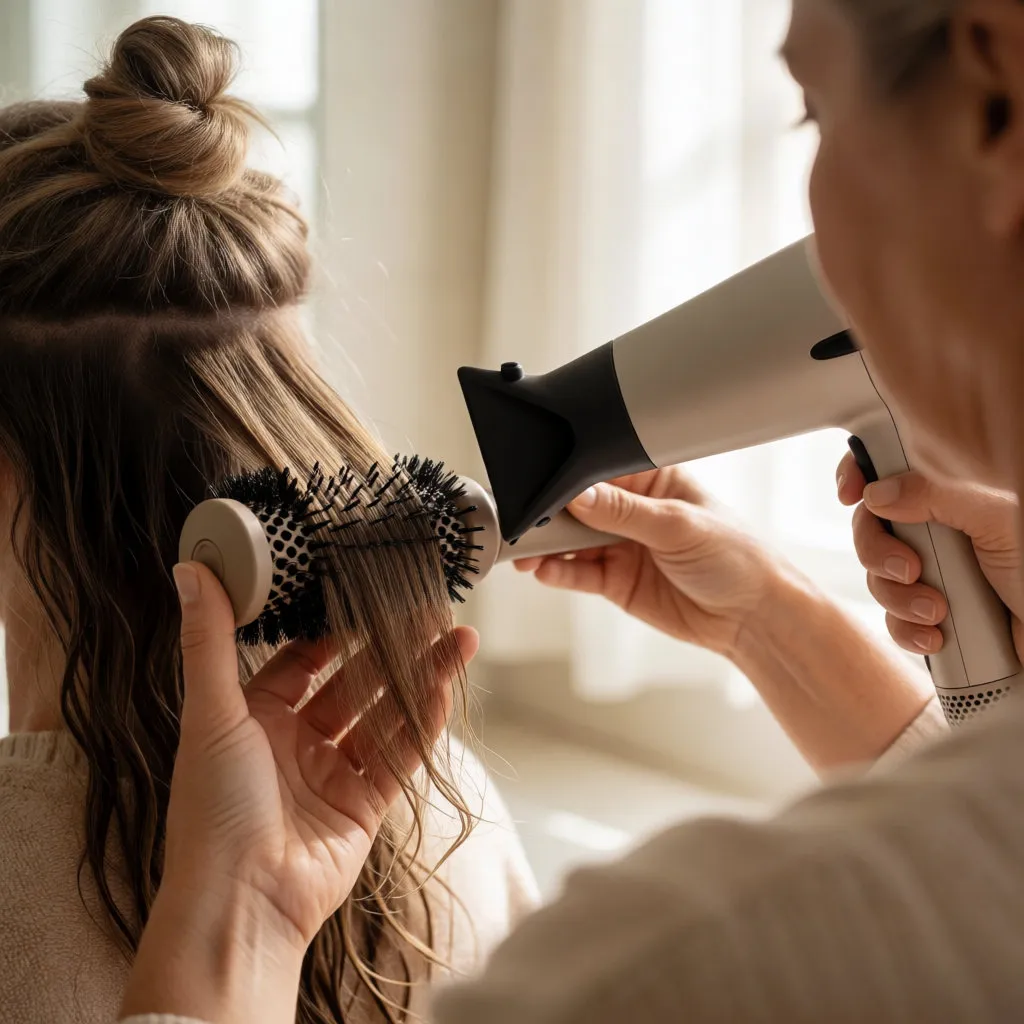
Then, once the loose sections are dry and smooth, release a few more and continue, gradually working your way up to the crown.
Once all your hair is dry, switch your hairdryer to the cold setting: cool air helps set the shape you've created, which is what makes the movement last. You can also smooth a small amount of smoothing serum through the mid-lengths and ends, or even mist on a little light hairspray to hold everything without weighing it down.
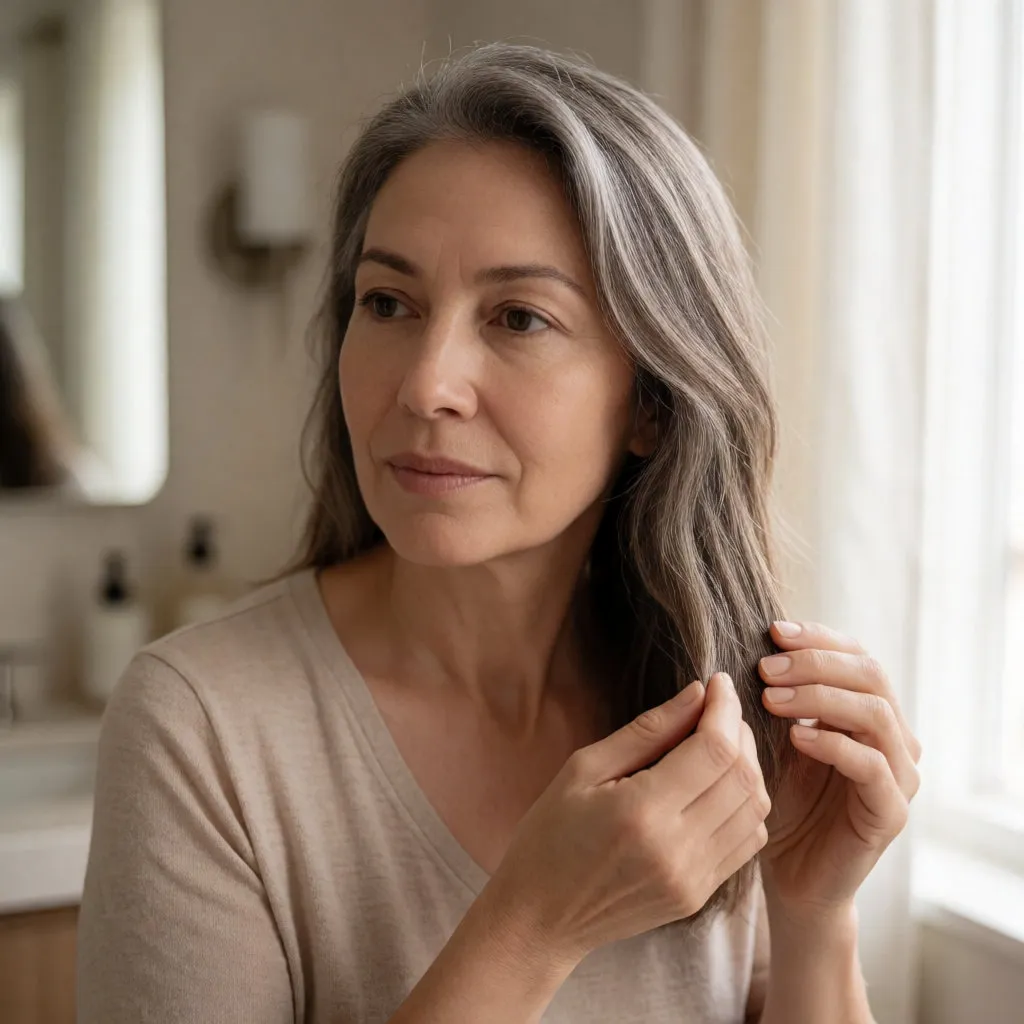
And there you are, blow-dried like a pro. But beware humidity: unfortunately, no serum yet exists that can prevent rain-induced frizz.
We love a blow-dry: it leaves hair soft, sleek and silky. A joy, yes, but an expensive one. And most of us don't have a personal stylist to blow-dry our hair at the drop of a hat. You might think that's a shame; I'd say you don't need one. An at-home blow-dry? Easy: just follow a few golden rules for the perfect blow-dry and practise. Then it's over to you: smooth, well-behaved hair.
Léna's verdict: an at-home blow-dry takes a little patience and method, but you soon get a taste for it. Find the rhythm that suits your hair, and never overdo the heat.

Budget
A decent hairdryer with several temperature settings and a concentrator costs around £25–£70, but expect to pay more like £90–£180 for a professional model whose motor lasts longer and heats more evenly. A good round brush — boar bristle, ceramic or a mix — costs around £9–£30 depending on size and brand, and a heat-protection serum around £10–£35. For hairspray, a light formula is around £8–£22. Prices vary by brand, stockist (supermarket, beauty retailer, brand website) and promotions, so it's worth comparing before you invest — especially in the appliance that will make the biggest difference day to day.

Comments
Your opinion matters: rate the article, react and reply to comments.
Comments are moderated; AI-assisted comments are flagged. Text emoticons (8-), :-), <3…) are automatically shown as images.