
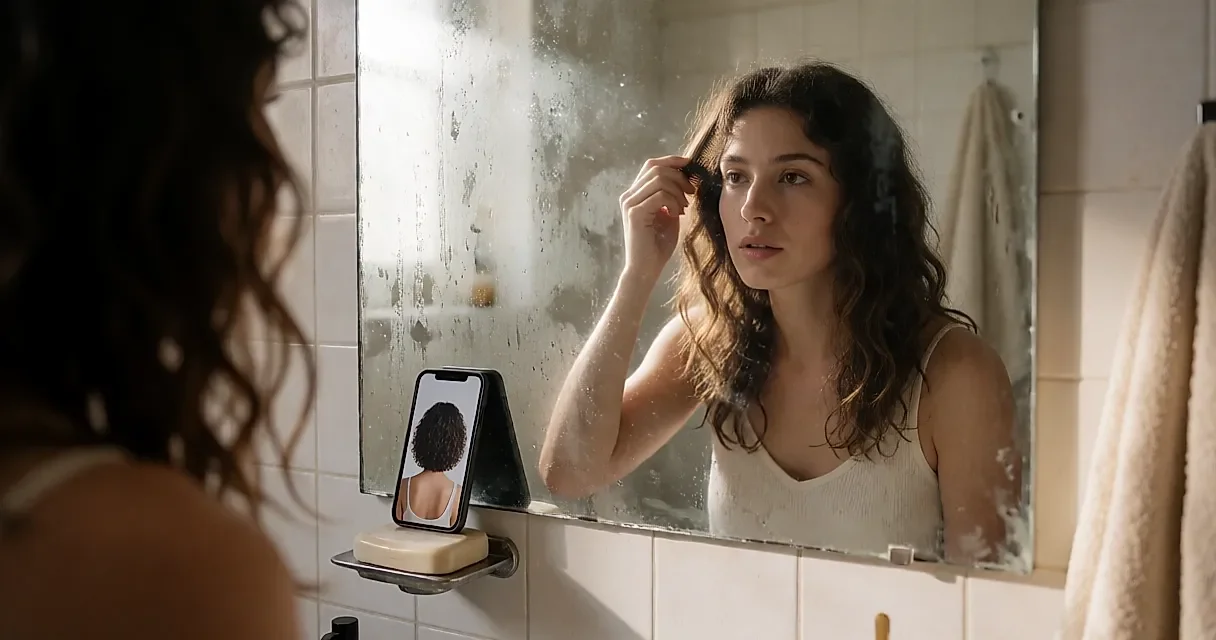
Copying a Zendaya hairstyle is a losing bet from the start. Not because it is reserved for the red carpet, but because the result depends on three things no photograph can tell you: where the hair is anchored, how much sleekness and volume you are after, and the order in which you do things. The rest — the lighting, the occasion, your starting length — is not ours to control. So it makes more sense to turn the usual gallery habit on its head: instead of trying to replicate yet another celebrity look, pick out three markers to translate to your own hair.
What you can actually take from a star's look
Zendaya has worn a wide range of hairstyles in public, and that is exactly why her gallery is useful. After a few appearances, you do not remember every look: you notice two or three principles that keep coming back. An exposed nape here, smooth lengths there, volume that does not budge by a millimetre.
But you have to look in the right place. Forget the exact colour and the cut down to the centimetre: what transfers is the mechanics. First, the anchor point, where the hair is gathered. Next, the balance of sleekness and volume — what is flattened, what is left with movement, whether the finish is glossy or matte. Finally, the order of the steps: what you detangle, texturise and set. Three markers to look for in every hairstyle that stops you, and you have a set of instructions rather than a photo to imitate.

The anchor point and why one centimetre matters
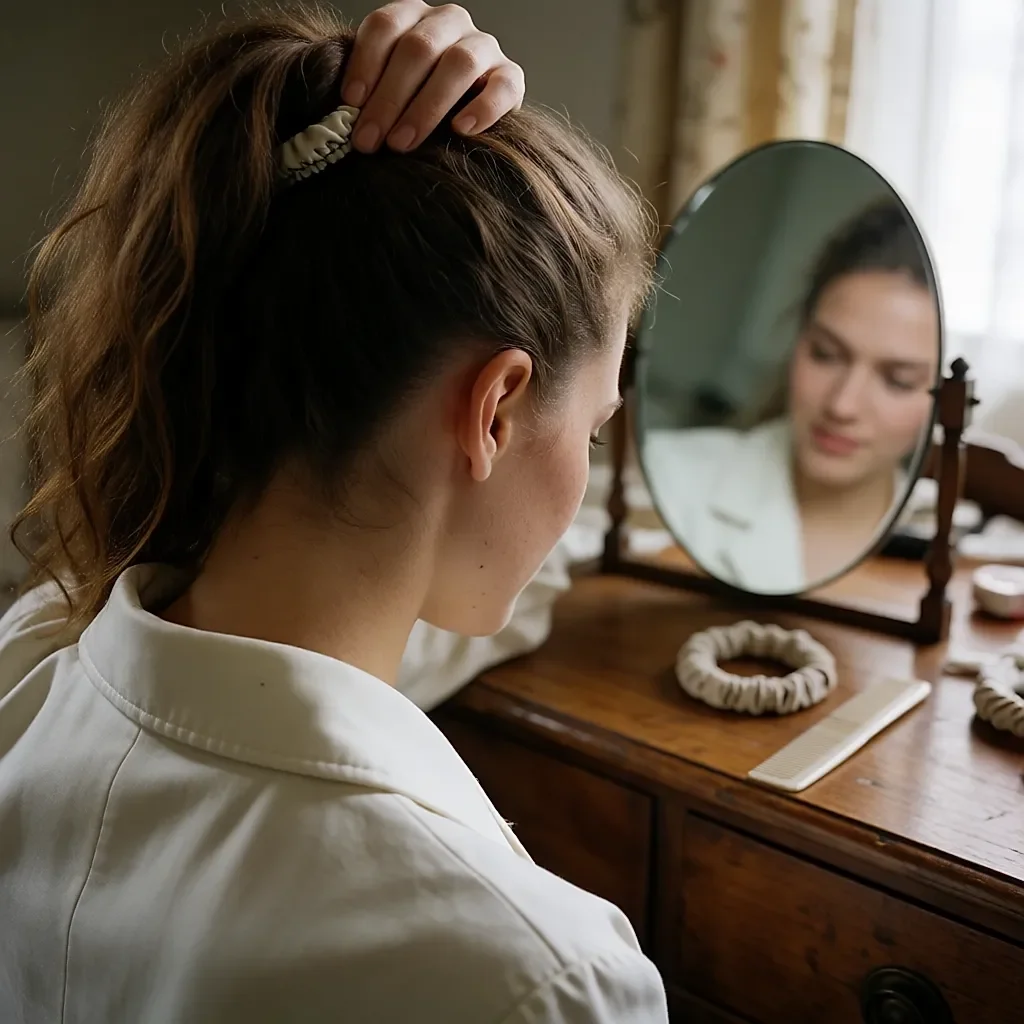
A high anchor frees the nape and creates a longer line. It works well with a high collar, a jacket with a crisp collar or a backless dress: you can afford volume around the face because the neck is free. The downside? It can also elongate the face, so if your face is already long, it is best not to pile height right at the crown.
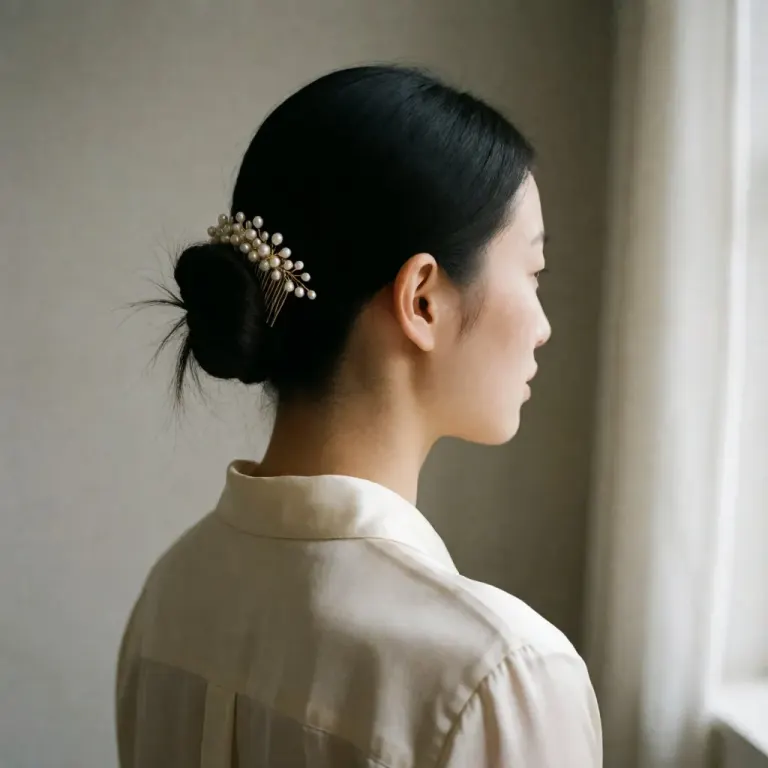
A low anchor sits at the midpoint of the nape, rather than being scraped flat against the head. Softer and more polished, it balances a long face and works with an open neckline or an open shirt collar. With a roll-neck, be careful: two volumes compete for the same area and the silhouette can feel heavy. A round face, by contrast, benefits from height on top rather than width at the sides. And whichever you choose, the move that counts is to use two thin hair ties rather than one tight one. The first holds the base, the second adjusts it, so the tension is spread and the style does not pull.
Decide between sleekness and volume before you reach for the heat
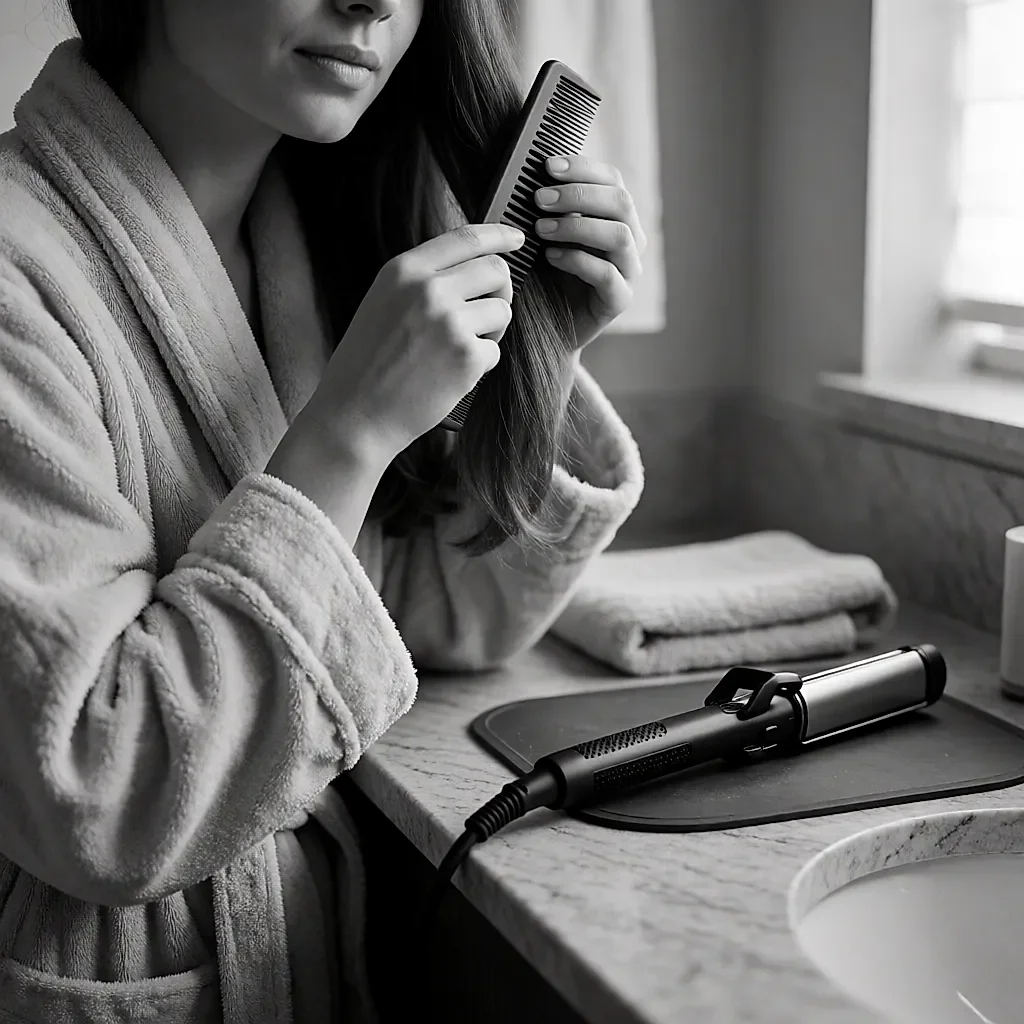
Sleek styling is about neatness. It shows off the cut, asks for clean hair and hair that will accept a bit of discipline. Do you need to flatten everything? No. Smoothing the top sections and leaving the lengths soft is often enough to give the impression of a polished finish. In practice, limit how long you hold the straighteners on each section, adjusting the temperature to your hair type.
Volume is more forgiving: it works very well on second-day hair, which, let's face it, counts for a lot on a Monday morning. Provided you start with a base: a few backcombed sections underneath, or a texturising spray at the roots before you lift the hair. Volume is built, not simply decreed.
Taming the lengths, in the right order
The order of the steps matters more than the kit. Detangle first, section by section, otherwise knots end up trapped in the bun. Texturise next. Set last, and from a distance: hairspray held about 30 cm away holds better than a cloud sprayed right against the scalp. How much product? A pea-sized amount, never a handful.
For hair care, keep it simple: favour the natural option when it is enough for the hold you want. Flaxseed gel or aloe vera gel can give flexible hold and rinse out easily, which is handy for fine hair that gets weighed down quickly. A conventional hairspray may still be necessary to hold a style all day. If so, own it, and choose a refillable format or a larger can that lasts rather than a mini bottle for emergencies. I do not claim to have been anywhere near a red carpet: this is all about principles, not backstage tricks.
The collar test, before you get out your kit: put on the top you plan to wear, stand at a three-quarter angle to the mirror and lift your hair by hand. High, low, mid-height — in ten seconds you will know which one lets the neckline breathe.
The one step that remains
You will never have the same lighting, the same length or the same team behind you. But you will have the choice of anchor, markers for sleekness and volume, and a collar that whispers the answer. Next time a hairstyle stops you in a gallery, ask yourself where the anchor point is: the answer is worth more than a copy-and-paste.
Comments
Your opinion matters: rate the article, react and reply to comments.
Comments are moderated; AI-assisted comments are flagged. Text emoticons (8-), :-), <3…) are automatically shown as images.